Work with ESRI ArcGIS Mobile Apps (iOS)
Your Spire or Geode GNSS receiver will work with ESRI ArcGIS mobile apps.
To use an ESRI ArcGIS Mobile App with Spire or Geode,
(Optional) Connect Network RTK.
Connect the Spire or Geode to ArcGIS Field Maps or ArcGIS Survey123.
When using NTRIP/RTK, you will leave the Juniper Connect window open while you use the ESRI ArcGIS mobile app.
Pair the Spire or Geode
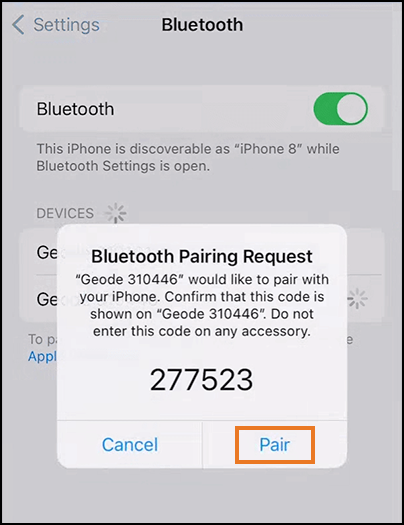
Pair your Spire or Geode to your iOS device using the Bluetooth settings.
CAUTION: Do not use two ESRI apps while using Juniper Connect as an NTRIP/RTK provider.
While the Juniper receiver's Bluetooth feature is capable of supporting two iOS device EA Session connections at the same time, running two ESRI apps at the same time you are using Juniper Connect as an NTRIP/RTK provider will prevent the Juniper Connect session and NTRIP/RTK Client from functioning properly. (The ESRI apps will consume both EA Session connections.)
If you will use NTRIP/RTK continue with the Connect for NTRIP/RTK instructions. If you will not use NTRIP/RTK, skip to Connect to Geode in Field Maps or Connect to Spire or Geode in Survey123.
Connect Network RTK
Juniper Connect paired with a Spire or Geode can obtain NTRIP/RTK GNSS receiver metadata and pass it to ESRI ArcGIS mobile apps, such as ArcGIS Field Maps and ArcGIS Survey123. To use network RTK correction service with your Spire or Geode and an ESRI ArcGIS mobile app, you will start the network RTK correction service from Juniper Connect, leave the Juniper Connect app running, and then connect the Spire or Geode as the location provider for Field Maps or Survey123.
With your Spire or Geode paired to your device (see Pair the Spire or Geode above), choose one of the following:
Juniper Connect, Juniper RTK—From the top of the Home screen, select Juniper RTK as the RTK provider. Tap the green triangle. See Juniper Connect User Manual, "12.3 Connect to Juniper RTK."
Juniper Connect, other RTK providers—From Settings > RTK/NTRIP profiles, enter the information supplied by your network RTK service provider. For details see Juniper Connect User Manual, "11.1 Add a Network RTK Provider."
Geode Connect—From More > Configure > NTRIP/RTK, enter the information supplied by your network RTK service provider. For more details see the GNS3 User Manual, "5.5.3 Receiver Configuration, Configure NTRIP/RTK."
Keep Juniper Connect open while you connect to the Spire or Geode and use your ESRI ArcGIS app.
Continue with the instructions for your app Connect to Spire or Geode in Field Maps or Connect to Spire or Geode in Survey123
Connect to Spire or Geode in Field Maps
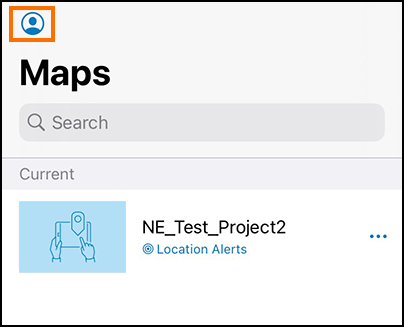
With your Spire or Geode paired to your device (see Pair the Spire or Geode above), tap the profile icon in Field Maps.
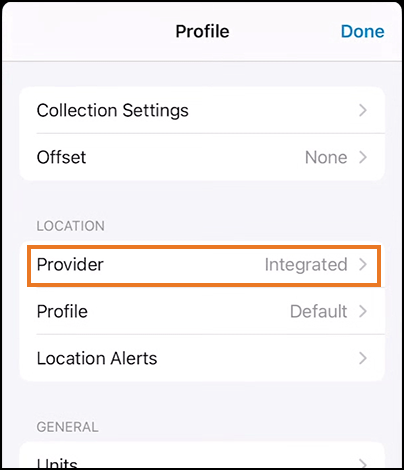
Tap Provider.
Tap Add Provider.

Tap Juniper Systems Inc. #XXXXXX.

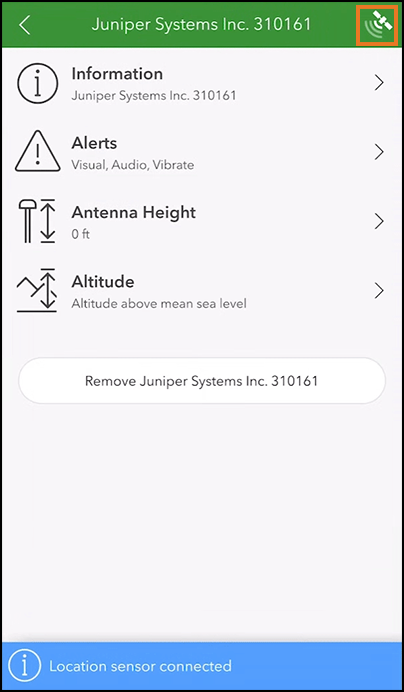
Set the antenna height and tap Done.

Select the Spire or Geode to set it to the current provider. It will have the name “Juniper Systems Inc.” followed by the serial number.
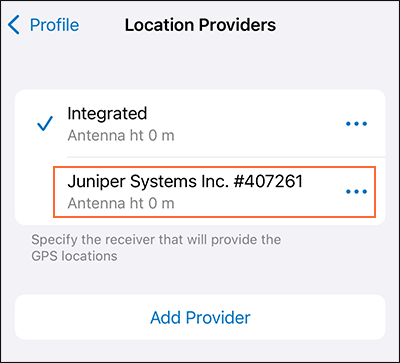
You can now see the Juniper Systems Inc. XXXXXX listed as the provider.

You are now ready to use Field Maps with the network RTK service through the Spire or Geode.
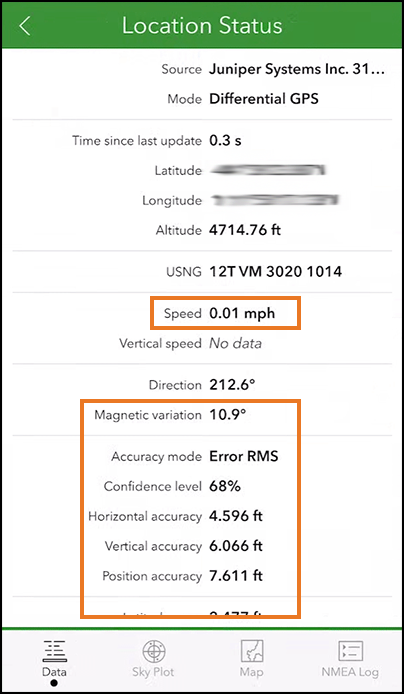
If you are using RTK corrections, you can now see data in additional fields.
Note: Keep the Juniper Connect window open (do not swipe it away) to maintain your RTK correction service.
Connect to Spire or Geode in Survey123
With your Spire or Geode paired to your device (see Pair with the Spire or Geode above),
Tap
 .
.
Tap Settings.

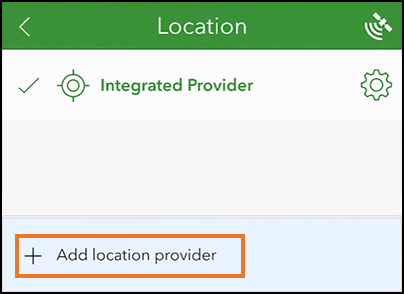
Tap Location.

Tap Add location provider.
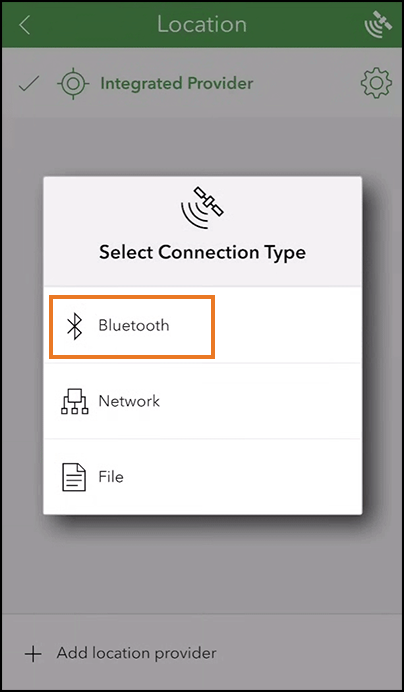
Tap Bluetooth.
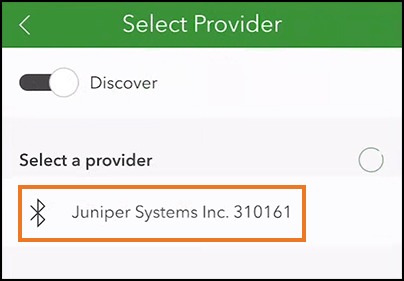
Enable Discover.

Select the Spire or Geode. It will be named “Juniper Systems Inc.” followed by the serial number.
Tap
 .
.
You are now ready to use Survey123.
If you are using RTK corrections, you can now see data in additional fields.
Note: Keep the Juniper Connect window open (do not swipe it away) to maintain your RTK correction service.