
Work with Trimble DA2 Receiver (Android)
Uinta data collection software will work with the Trimble DA2 receiver. You will need to create a connection from Uinta to the receiver through Location Services. To create the initial connection, you will use the Trimble Mobile Manager (TMM). The following instructions are specific to the DA2, however, you may be able to use them with a different Trimble receiver.
Initial Connection
To connect Uinta to the Trimble receiver for the first time:
Power on your Android device and Trimble receiver.
From your Android device Settings > Bluetooth tap Pair New Device.
Select your Trimble DA2.
Tap Pair. (Enter the pairing code if needed.)
(optional) Sign in to the Trimble Mobile Manager (TMM) app to make use of your catalyst subscription or on-demand hours.
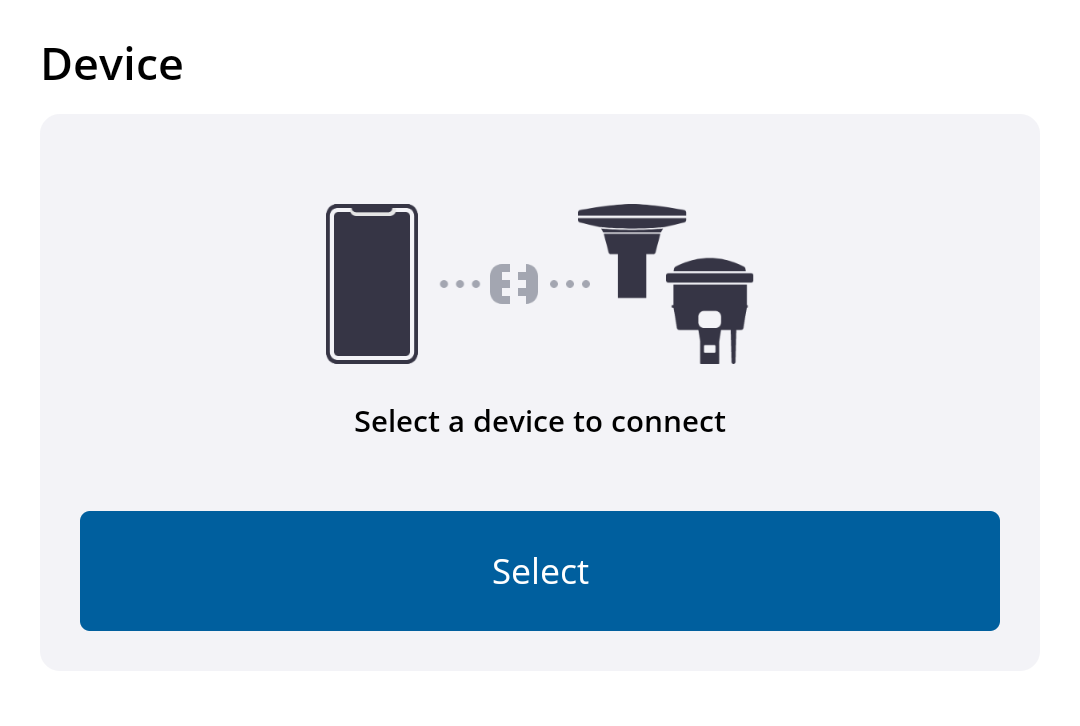
From TMM, tap Select a device to connect.
Scan for devices.
Select your DA2.
Tap Connect.
(optional) If there is a blue Learn More button, tap it and follow the steps to update the firmware of your DA2.
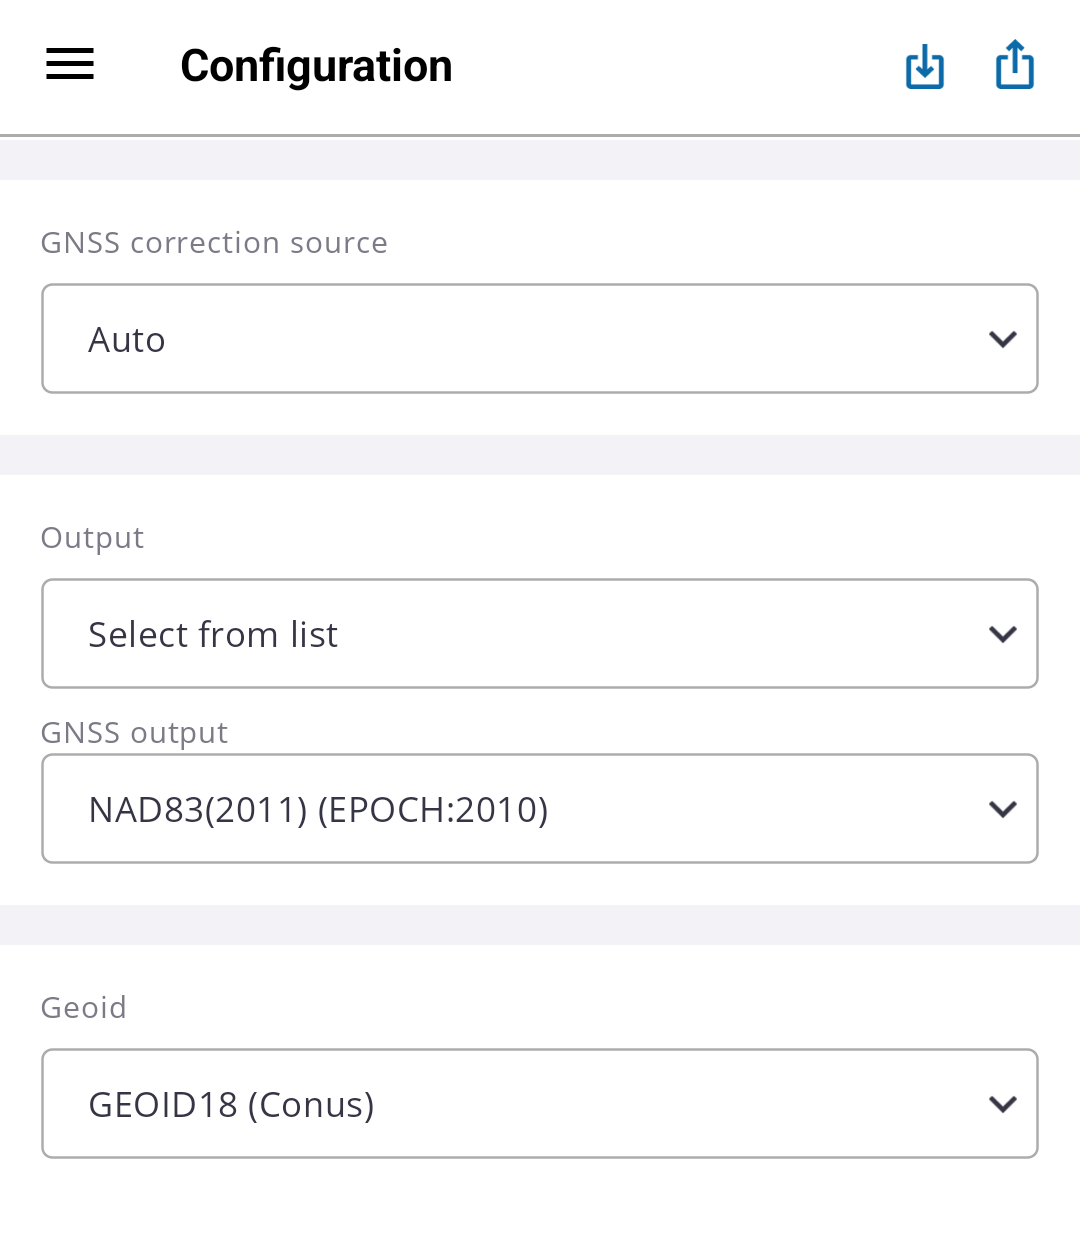
Tap Configuration.
Use the following options:
GNSS correction source: Auto
Output: Select from list
GNSS Output: (varies by location) Select NAD83 2011 Epoch 2010 if you are in the continental US.
Geoid: Geoid 18 CONUS
Tap
 .
.Tap Settings.
Select the Units you want:
US feet
International feet
Meters
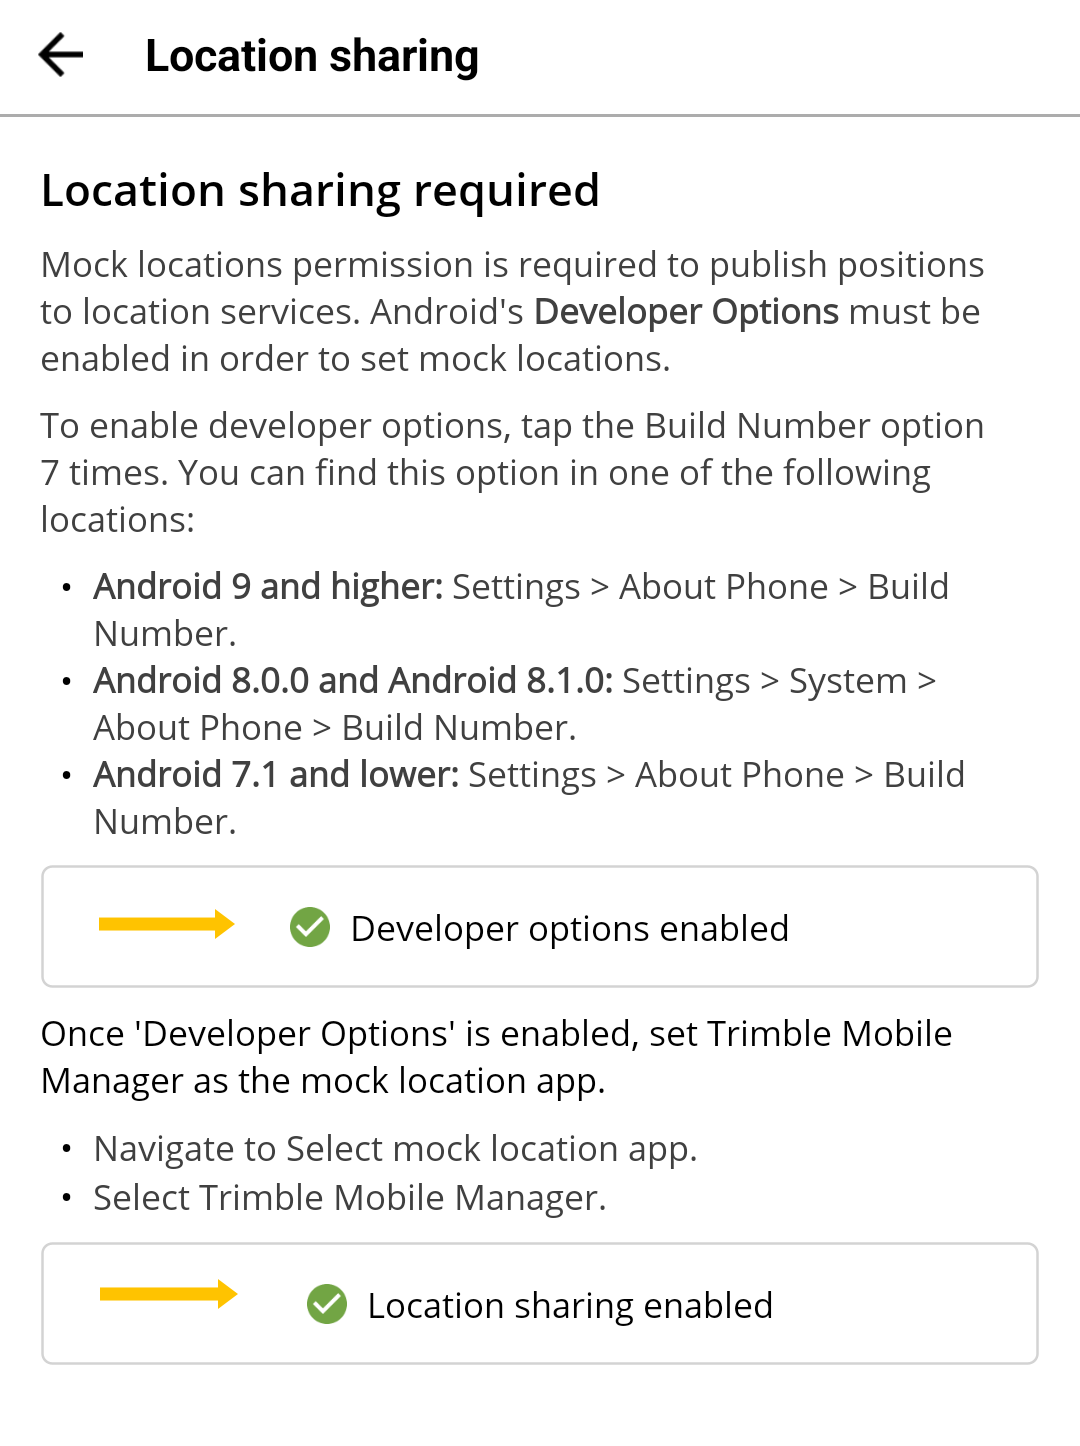
Select Configure Location Sharing.
Follow the instructions in the TMM app to turn on Developer options and set TMM as a mock location provider.
Tap
 .
.Tap Skyplot. Verify satellites are showing.
Tap Status. Verify the accuracy and elevation.
Note: You must be outside with your Android device and Trimble DA2 for the receiver to see satellites.From Uinta, tap
 .
.Tap Connect & Manage GPS.
From Select GPS Receiver, select Location Services.
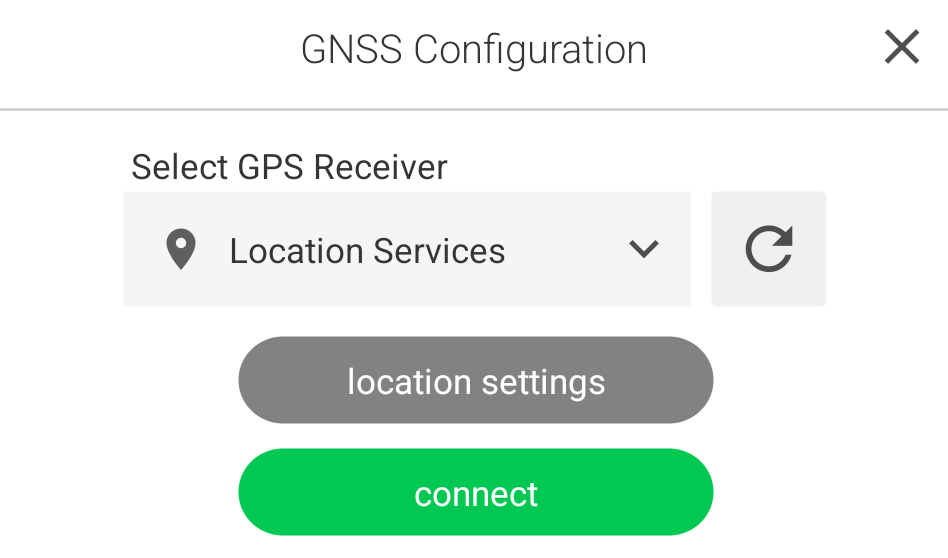
Tap location settings.
Enter the antenna height. Add 0.0618 meters or 0.2027555 feet to the height of your antenna to account for the position of the antenna inside the Trimble DA2 housing.
Verify that Uinta is using the 4326 WGS84 Latitude/Longitude coordinate system.
Tap Coordinate Systems.
Verify that the Displayed Coordinate System is WGS 84 Latitude/Longitude.

Tap
 .
.Verify the Geoid model.
We recommed MSL Orthometric Height of Geoid18 USA_2018_GEOID18_hybrG_2020. See the Uinta User Manual for instructions on Geoid Settings.
recommend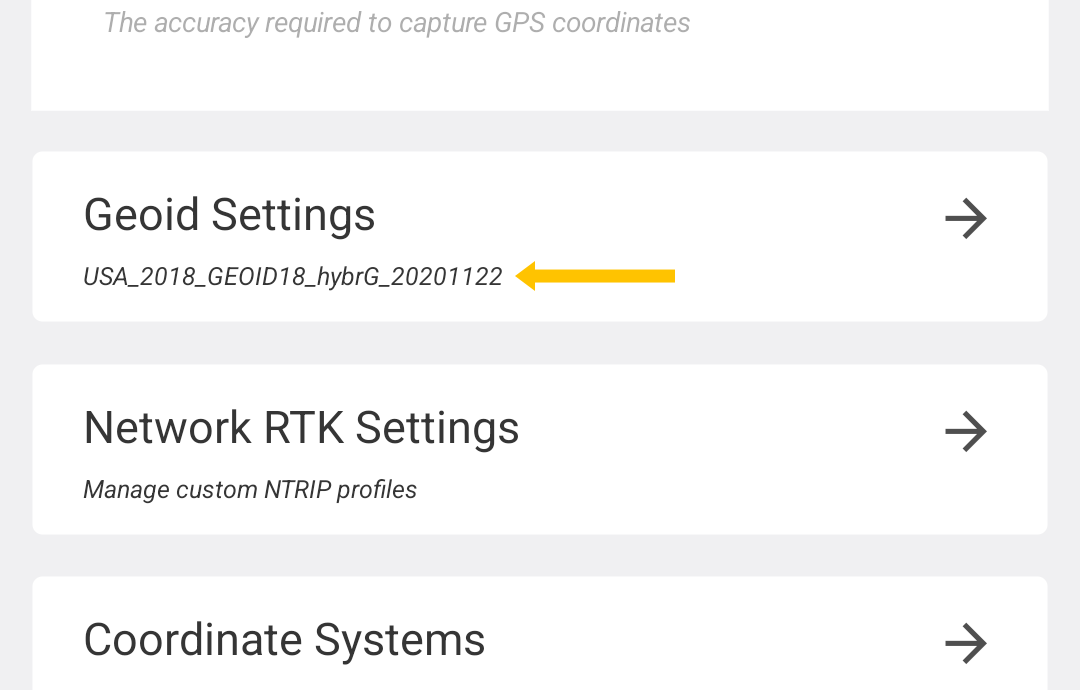
You are ready to begin mapping with Uinta.
Subsequent Connections to the Trimble DA2
After the initial connection, follow these steps to connect:
Power on your Android device and Trimble receiver.
From Mobile Manager home screen, tap Select.
Tap your DA2.
Tap Connect.
From Uinta, tap
.Tap Connect & Manage GPS.
From Select GPS Receiver, select Location Services.
Tap connect.
Start collecting data.
Export Data
When you are ready, you can export your collected data to Excel. See the Uinta User Manual for instructions on exporting.
Note: Uinta is capable of exporting to Shapefile or KMZ formats, but there may be a datum shift.
After exporting to Excel, you can open the spreadsheet, make changes if needed, and import the data into:
GIS software, such as ESRI or QGIS
CAD software, such as Autodesk, MicroStation, or TurboCAD
Survey software, such as Trimble Business Center