
Apply changes through Terminal to the Geode
UPDATE 15 Jan 2023: If you have a Geode GNS3 model, please see Geode GNS3 Activation or Subscription.
In most cases, Geode Connect provides a simple method to change Geode settings, activate new features, or begin subscriptions. Occasionally, you may need to apply changes using a command string entered through the terminal window. The command string process can be used to:
Change the RS-232 port to output at 4800 baud rate (as is required by some GPRS sensors).
Apply upgrades to the GNS3 when not able to connect to the internet.
Apply upgrades to the GNS2 and original Geode (now referred to as GNS1).
Download and install Geode Connect.
Connect the Geode. For instructions on how to connect the Geode to your device, see:
If applying upgrades, send the current configuration strings from your Geode automatically or manually to Juniper Systems and apply the upgrade strings provided by Juniper Systems to your receiver.
Automatically Generate Configuration Strings
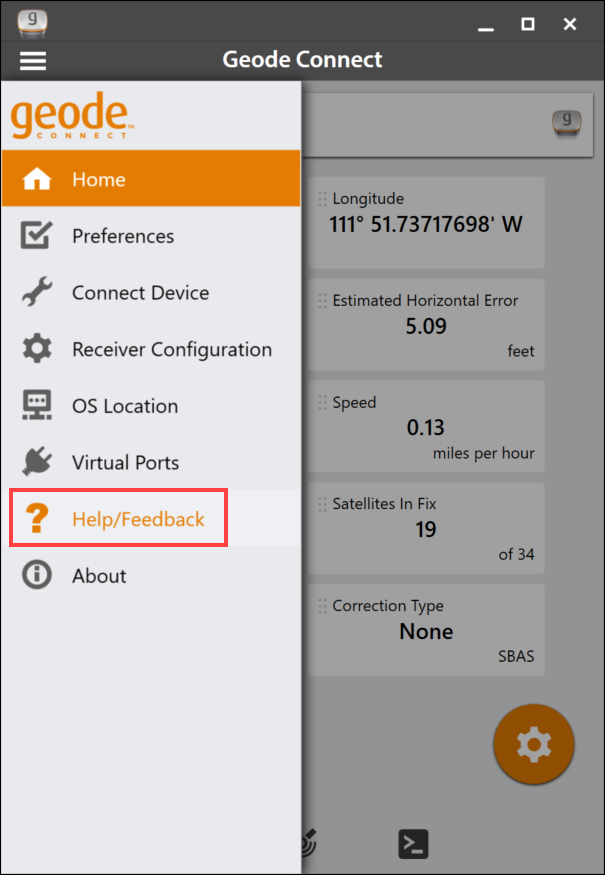
Go to the Geode Connect Home screen. Click on the menu in the top left corner.
Select Help/Feedback.
A new email with the necessary configuration strings will open. Add the name of the sales representative you purchased the upgrade from to the email.
Send the email. (It will be automatically addressed to support@junipersys.com.)
Watch for an email reply containing your subscription key code. When it arrives,
Open the terminal screen in Geode Connect.
Click the arrow and select HIDE LOG,
Click Send.

Copy the subscription key from the email.
Paste the subscription key into the terminal command field.
You may receive multiple lines of numbers and texts. If so, you will need to enter each one individually.
Each line that you copy will begin with $JK
Click Send (after each string). A confirmation will appear.
Manually Generate Configuration Strings
To activate additional features or begin subscription services manually you will send an email to Juniper Systems purchasing (support@junipersys.com) with some specific information about your Geode. Use your PC and Geode Connect to locate that information. You'll need to have Geode Connect installed.
Begin an email to Juniper Systems purchasing (use the email link above or start your own) requesting your desired upgrade. Please include your name and phone number.
Locate your receiver serial number found on the bottom of your Geode and enter it into the email.
Turn on your Geode.
Connect the Geode to your PC via USB or Bluetooth. (Instructions can be found in the GNS2 Manual.)
Open Geode Connect.
Choose the name of your Geode. (Geode Connect will try to connect to the last device it connected to. If it doesn’t connect, click the circle at the bottom right of the screen to start a search again until it sees your Geode.) Note: If you connect with USB, it will be named “Generic NMEA:” Geode Connect will connect to the Geode displaying the Home screen.
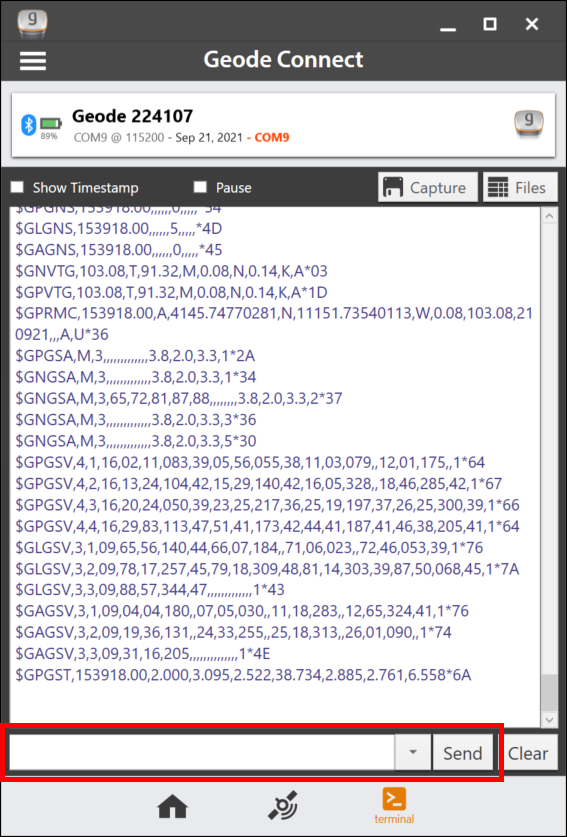
Select the Terminal icon

. The Terminal screen displays the data streaming from the Geode to your device.
From the Terminal screen you can send commands to the Geode.
GNS2: To send a command to the Geode,
Click the command icon. The dialog box will offer Show/Hide Log as the default command.
Click Hide Log.
Click Send
GNS3:
Click Send Command.
Click Show/Hide logging to show or hide the NMEA strings in the terminal.
Click Send custom to enter a custom command.
Type into the data entry field $JI
Click Send. Something like the following will appear (some numbers will be different): $>JI,18301541,20,1,20072015,01/01/1900,01/01/3064,1.2Qk03t,0
Copy the text from the terminal window and paste it into your email to Juniper Systems purchasing.
Type $JK,SHOW into the data entry window.
Click Send. Something like the following will appear (some numbers will be different): $>JK,SHOW,40,0,00/00/2000,1,OPT=,1Hz,MULTI_GNSS
Copy the text from the terminal window, and paste it into your email to Juniper Systems purchasing.
Send the email to Juniper Systems purchasing. (Be sure it includes your name and phone number, your receiver serial number, the two lines of numbers and letters from steps 10 & 13.)
Watch for an email reply containing your subscription key code. When it arrives,
Connect the Geode to Geode Connect.
Copy the subscription key from the email.
Paste the subscription key into the terminal data entry window.
You may receive multiple lines of numbers and texts. If so, you will need to enter each one individually.
Each line that you copy will begin with $JK
Press Send.
You will see an activation confirmation message.